After perusing local offers of knackered out furniture I spotted this little gem with 20 hours left and at a bid for £1.24 I eventually won for £5! My other half clearly thought I was mad and begrudgingly went and collected it, calling me upon arrival saying it stinks, and was past the point and just what am I going to do with it!
Unfortunately he was right and there it sat in the hallway looking sorry for itself, until I ventured into my basement and found some old curtains, where they came from I am unclear but it was certainly my Ottomans lucky day!


The first fun job was removing the fabric, which I found out was was an actual William Morris Wey design and hopefully will survive after a wash. It was quite sturdy when removing it, they don't make fabric like this any more without a massive price tag!
If it scrubs up nice I look forward to making some vintage children's clothes so watch out in future posts! =D


As I got down to the next layer I realised that the fabric was holding the wooden box together and not want to risk it I did some upholstering washing and let dry and came back quite springy so I forwent the desire to foam it and started putting on my nicely ironed curtains;
 |
| A slight problem was the chunks of wood with the wheels, after realising that they were in fact glued to the bottom I had to come up with a fancy way of getting around and I have to say it looks pretty good, I'm going to have a think about what to do with the bottom, still unsure whether to paint, frilly beading or use the left over material to make drop edging (think futon) |


Since the way of the pattern went I had to try and ensure that the front of the box matched all the way through and down the back of the box, so to achieve this I firstly did the side of the box, starting from the bottom of the outside and pulling tightly over the lip and tacked down at the bottom.
I then used a long length of material, starting at the bottom of the front of the box and over the lip to line and cover the side panels at the bottom, then out of the back of the box.
The reason I did the this is to have a seamless edge without too many tacks on show, while still being very secure.

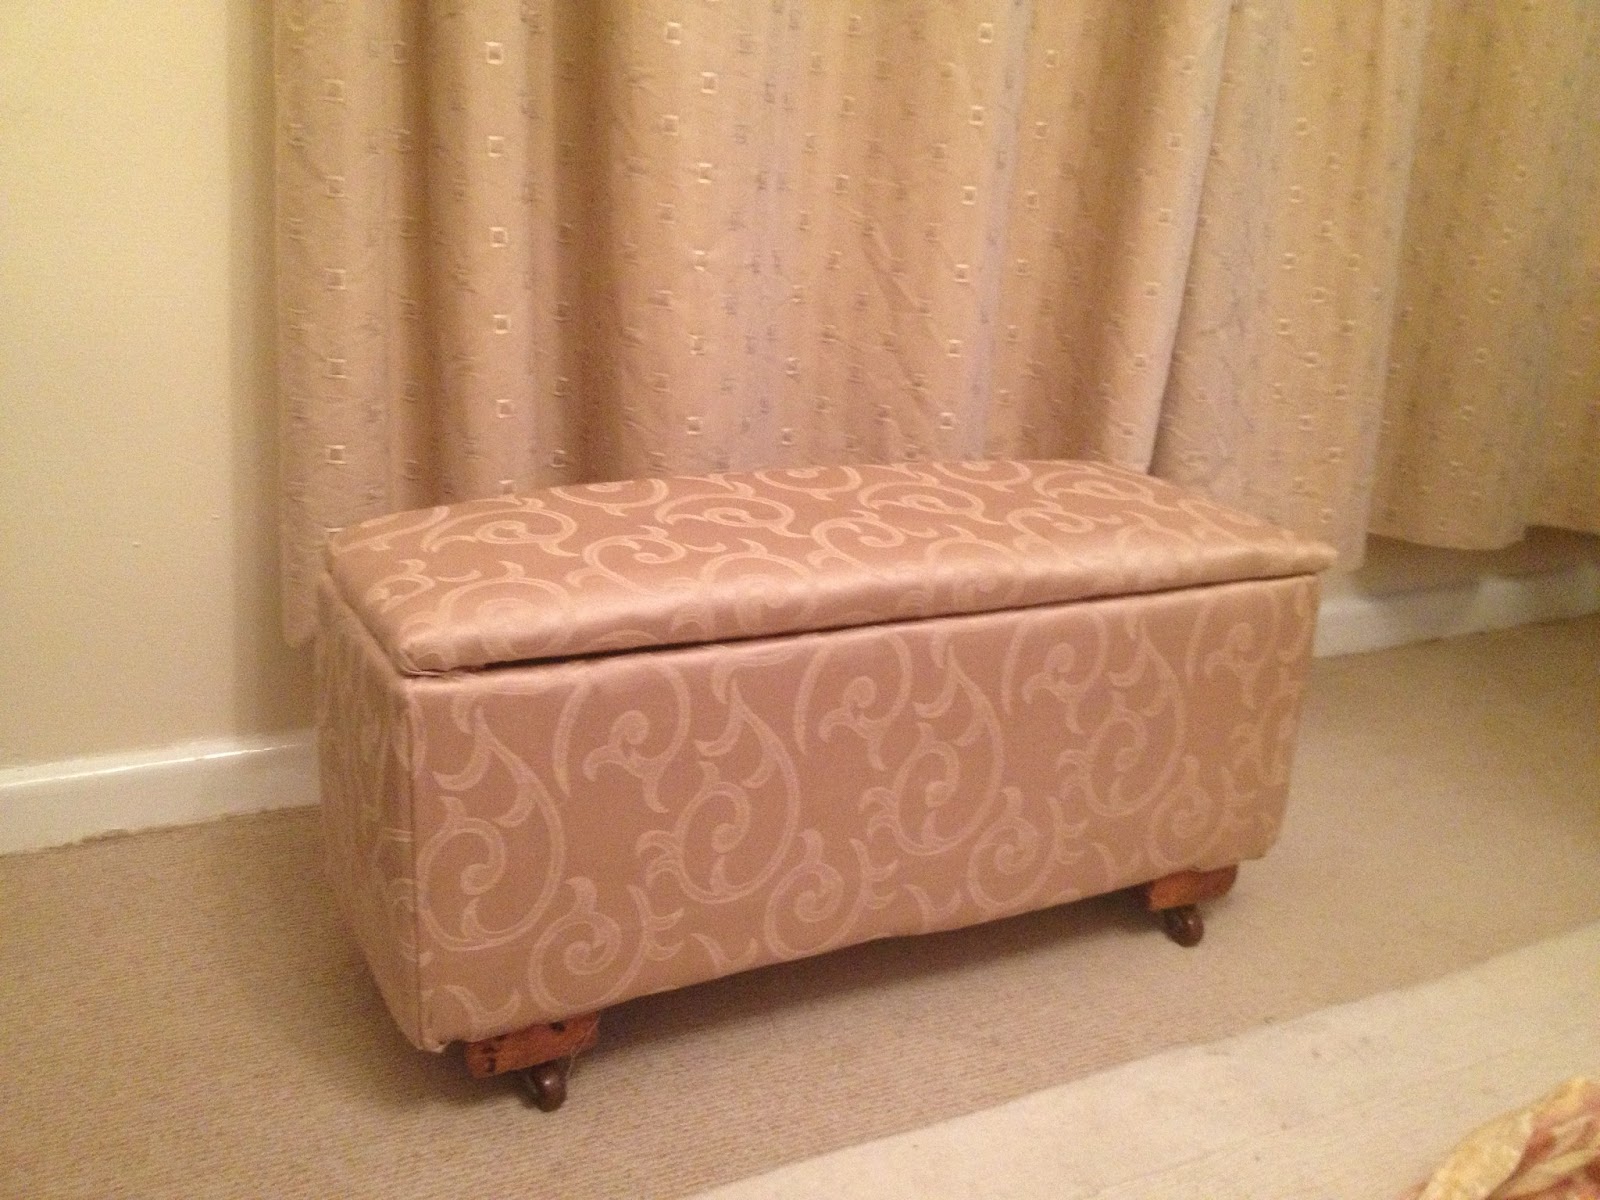
Finally It was time to do the lid, as you can see you needn't worry about rough edges as the top panel secures that nicely and you can see, try to trim down any access so it doesn't bunch and create bumps for a seamless finish!

And there you have it, just needs some nice hinges, which I will use the old holes for, you can't see in the picture but I put some pins to show where the holes are and will take the old hinges to B&Q to ensure I get exactly the same ones, just nice shiny gold ones (fingers cross)
No comments:
Post a Comment